Configuring Yarn Workspaces with React Native
Monorepos are brilliant in the right use cases, but often not without a cause-questioning level of setup complication. In the JavaScript ecosystem, Yarn Workspaces provides a mature tool for managing dependencies near-seamlessly, however this is not pairable with a React Native app by default.
Last year I undertook a migration to merge our previously separate frontend repositories into what has become our largest codebase. Amongst these was a vanilla (non-Expo) React Native app. This post aims to share the essentials learned about setting up React Native in a Yarn (classic) Workspaces monorepo, by equipping you with the why and what to do about each of the major stumbling blocks encountered.
1. Nohoist dependencies with native modules
Why?
React Native expects non-JS (i.e. linked) dependencies to live at a predictable location relative to each native project (within the android and ios directories) in a standard installation — referring to files and running scripts at ../node_modules. However, because Yarn will “hoist” dependencies that can be used across workspaces, by default most modules will be installed in the node_modules directory at the root of the repository, not local to your app’s workspace as expected.
What to do
We can avoid this with a Yarn feature called nohoist. In essence, this is a blacklist in your app project’s package.json under the workspaces.nohoist key.
This list should include at least react-native and react-native/** (dependencies of react-native), in addition to any dependencies that need to bundle native modules or run native scripts.
"workspaces": {
  "nohoist": [
    "@react-native-community/async-storage",
    "react-native",
    "react-native/**",
    "react-native-dev-menu",
    "react-native-svg",
    "jetifier"
  ]
},
From React Native 0.60, native dependencies that are hoisted are still detected due to autolinking updates, and this may no longer be strictly necessary for some packages. However, for predictable paths in native code, Jetifier, and for consistency, I recommend nohoisting every native dependency.
In general, it’s nice to keep our workarounds both in the native workspace (not affecting others) and in config files (that leave remaining project files “thinking” they are in a regular setup, and keeps our workspace isolated and detachable later). This trend continues below.
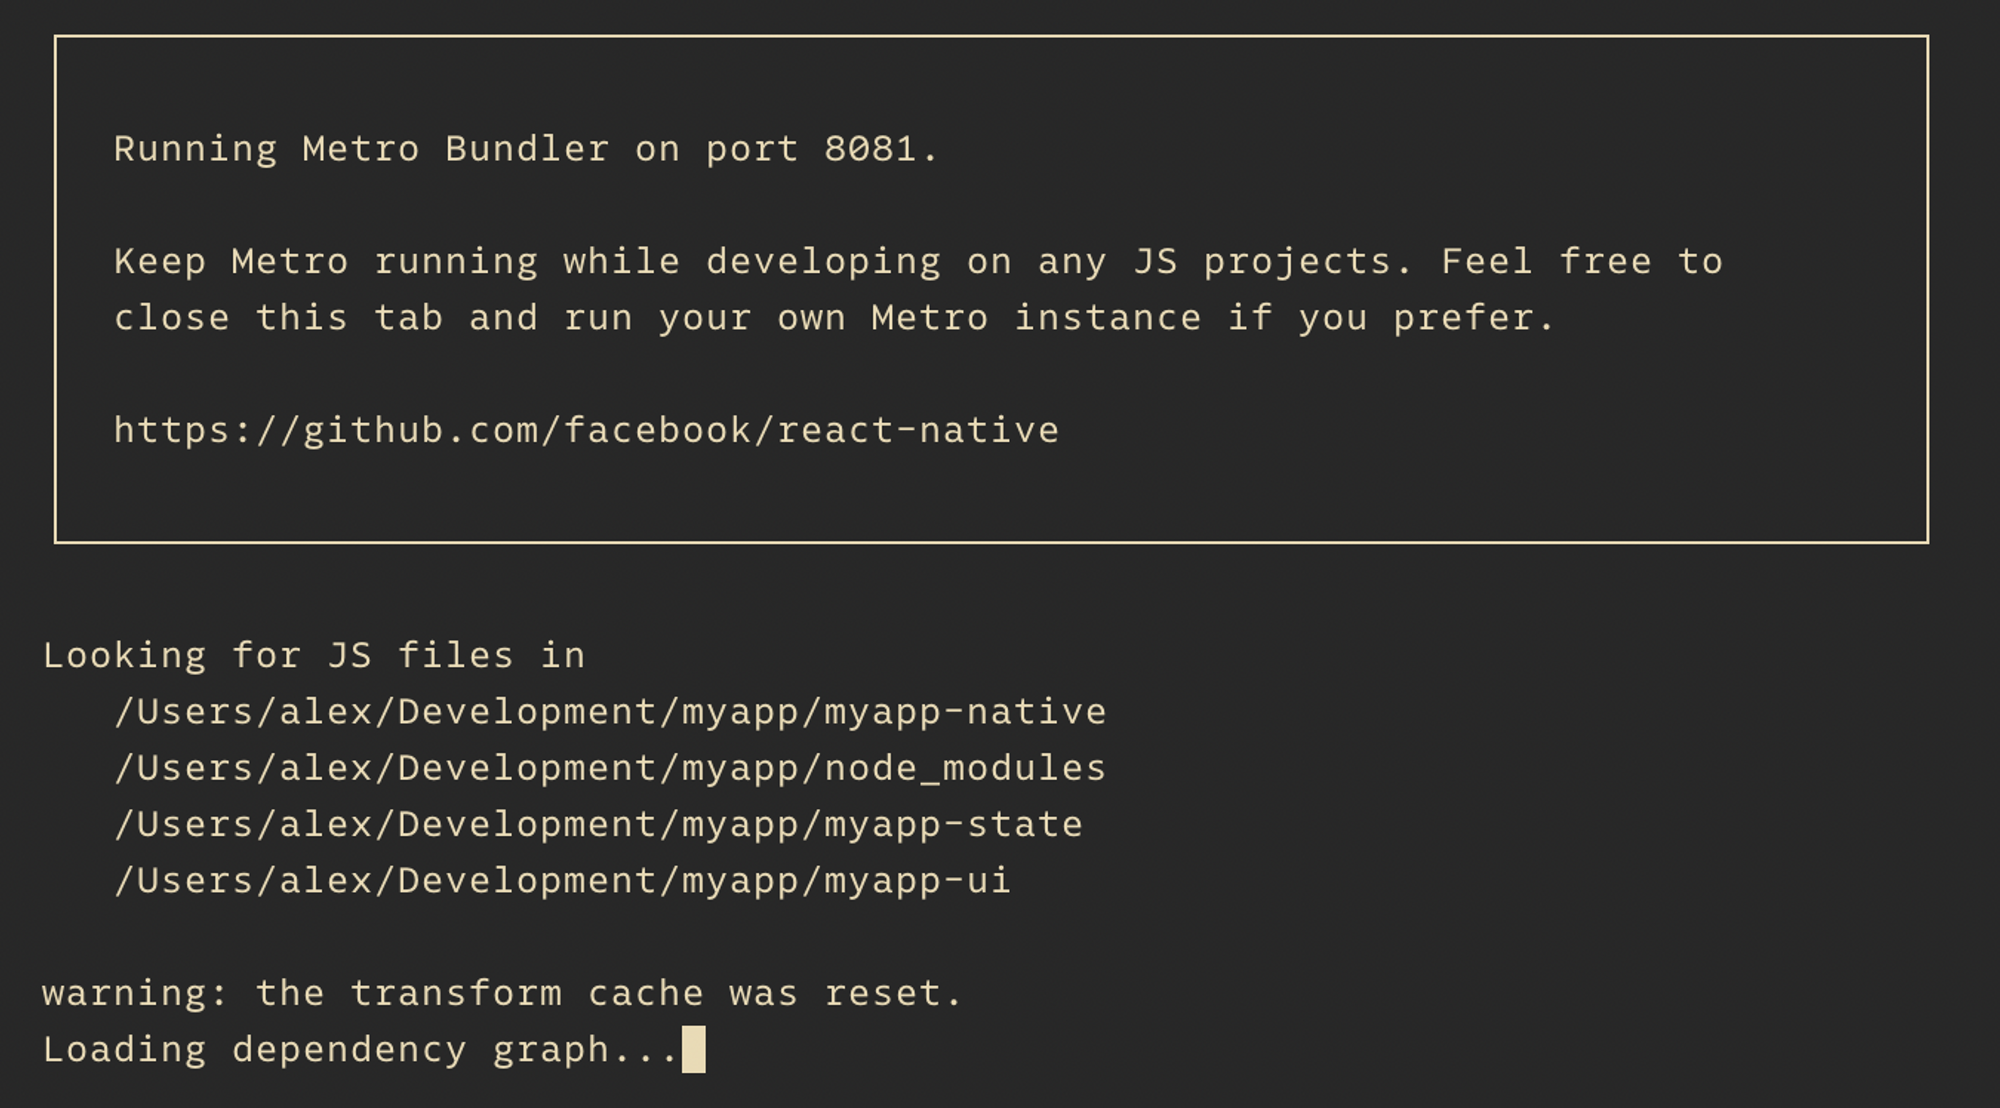
2. Configure Metro Bundler
Why?
Metro is the tool that bundles your JavaScript application to be executed on the device or in a debug session. To do this, it creates a mapping of module dependencies to their locations on the file system and serves them dynamically. In our monorepo setup, this means Metro sees our local node_modules directory but misses all symlinks that Yarn has created to hoisted dependencies, and to the other workspaces and their dependencies.
What to do
We need to configure Metro to include additional paths in which modules may be found- i.e. each workspace + the repo root. Thankfully, there is a config option for this: watchFolders, although we must figure out what the other paths are. Since React Native 0.59, we do this in a metro.config.js file at the root of the app project.
The snippet below defines the extra dirs for watchFolders — the location of the root node_modules dir and each adjacent workspace (from a prior call to get-yarn-workspaces).
// Add additional Yarn workspace package roots to the module map
// https://bit.ly/2LHHTP0
const watchFolders = [
  path.resolve(appDir, '..', 'node_modules'),
  ...workspaces.filter(
    workspaceDir => workspaceDir !== appDir,
  ),
];
The use of filter prevents duplicating the app dir as a watch path. Depending on your setup, you may want to selectively exclude other workspaces too, such as if you have a web app or for unrelated workspaces.
3. Deal with the potential fallout from widening your module paths
Why?
If you’re lucky, you might be sorted having done the first two steps. But it’s likely that as your shared workspaces evolve, so may new problems emerge out of these workarounds.
Our module map now includes multiple node_modules directories, and due to any nohoist entries, there is potential for dependencies to exist twice and at different versions. Often, this is not a massive problem, but let’s look at one breaking example.
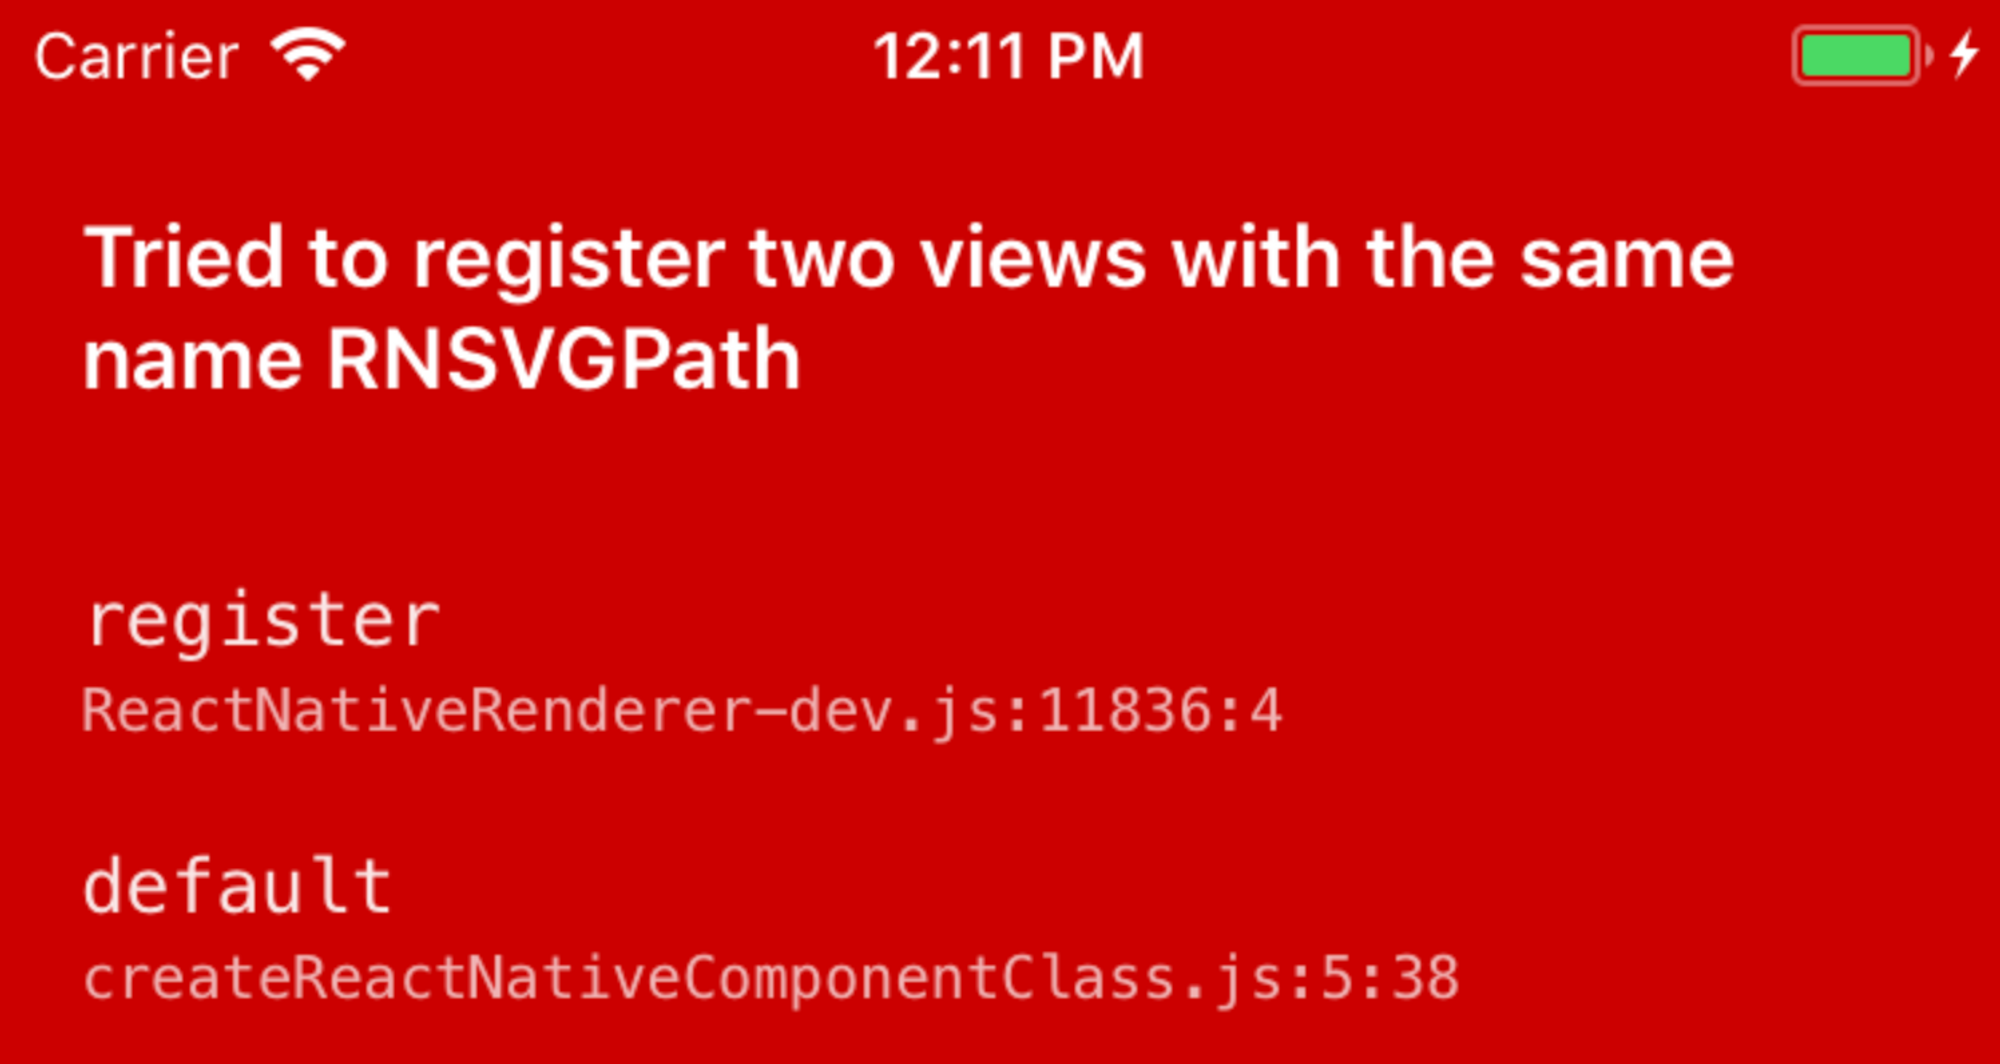
Here, a shared workspace requires react-native-svg, which is nohoisted in our app package. Due to our configured watchFolders, Metro has bundled two instances of react-native-svg at the same version — which isn’t the issue — but the package runs a side-effect on require that now gets called twice.
What to do
We can fix this with a combination of blockList and extraNodeModules in metro.config.js to essentially coerce the bundler to use a specific dependency instance when resolving a module — no matter which package required it.
resolver: {
  blockList: exclusionList([
    // Ignore other resolved react-native installations outside of
    // myapp-native - this prevents a module naming collision when mapped.
    /^((?!myapp-native).)+[\/\\]node_modules[/\\]react-native[/\\].*/,

    // Ignore react-native-svg dependency in myapp-ui, mapped below.
    // react-native-svg must only be included once due to a side-effect. It
    // has not been hoisted as it requires native module linking here.
    // http://bit.ly/2LJ7V4b
    /myapp-ui[\/\\]node_modules[/\\]react-native-svg[/\\].*/,
  ]),
  extraNodeModules: {
    // Resolve all react-native module imports to the locally-installed version
    'react-native': path.resolve(appDir, 'node_modules', 'react-native'),

    // Resolve additional nohoist modules depended on by other packages
    'react-native-svg': path.resolve(
      appDir,
      'node_modules',
      'react-native-svg',
    ),

    // Resolve core-js imports to the locally installed version
    'core-js': path.resolve(appDir, 'node_modules', 'core-js'),
  },
},
This pattern is useful for other resolution fixes: we can also get the bundler to resolve a specific version of a dependency needed at runtime, for example. For our project, we additionally had to map react-native in an identical way to the single version in the native app folder (this is so likely that it’s also included in the Gist for this post). Additionally, we needed to resolve to one version of core-js and another in the web app workspace (N.B. this method can be a necessary alternative to Yarn’s resolutions).
Extras and final thoughts
Hopefully, the above is sufficient to get your project up and running, or at least will help you understand these initial technical blockers when considering React Native in a monorepo project yourself.
What else might I need to do?
We faced other significant challenges in practice, including migrating CI in parallel for our web project, aligning deployment workflows, and configuring this setup to work with App Center (spoiler: this was not fun).
Monorepo Tools
If you’re migrating existing Git projects to a monorepo, monorepo-tools did the trick, building a new repo with rewritten file paths and preserving all existing commits. Our migration happened during active development in the source repos, and I was also able to sync back against these — meaning PRs from the day before could simply be reopened when the new repo was ready.
Was this all worth it?
Emphatically yes. Whilst the migration was a challenging effort, it was one a couple of devs could focus on over a few weeks. It has been paying off not only in our team’s day-to-day velocity, but in our ability to evolve design decisions across apps.
The example files providing full context for the snippets shared can be found in this Gist.